The Ultimate Guide to Building a Charcuterie Board
A charcuterie board is more than just a platter of meats and cheeses—it’s a work of art that brings people together. Whether you’re hosting a party, planning a romantic evening, or just treating yourself, creating the perfect charcuterie board is easier than you think. In this ultimate guide, we’ll walk you through everything you need to know to build a stunning and delicious charcuterie board that will impress your guests. Let’s get started!
What is a Charcuterie Board?
Charcuterie (pronounced shar-koo-tuh-ree) refers to cured meats, but a charcuterie board typically includes a variety of complementary items like cheeses, fruits, nuts, and spreads. The key to a great board is balance—combining flavors, textures, and colors to create a visually appealing and tasty experience.
Step 1: Choose Your Board
Start with a large platter or board. Wooden boards, slate slabs, or marble trays are popular choices. Make sure it’s big enough to hold all your ingredients without overcrowding.
Step 2: Select Your Meats
Aim for 3–5 types of cured meats with different flavors and textures. Some classic options include:
- Prosciutto: Thinly sliced and slightly salty.
- Salami: Choose a variety like spicy, garlic, or wine-infused.
- Chorizo: Adds a smoky, spicy kick.
- Pepperoni: A crowd-pleasing favorite.
- Coppa: Rich and flavorful.
Tip: Fold or roll the meats for an elegant presentation.
Step 3: Pick Your Cheeses
Include 3–5 cheeses with a mix of textures and flavors:
- Soft: Brie, Camembert, or goat cheese.
- Semi-Hard: Gouda, Havarti, or Manchego.
- Hard: Aged cheddar, Parmesan, or Pecorino.
- Blue Cheese: For a bold, tangy option.
Tip: Label the cheeses so guests know what they’re trying.
Step 4: Add Bread and Crackers
Provide a variety of bread and crackers for pairing:
- Baguette slices: Toasted or fresh.
- Artisan crackers: Choose plain, seeded, or flavored options.
- Breadsticks: For a crunchy addition.
Step 5: Incorporate Fruits and Nuts
Fresh and dried fruits add sweetness, while nuts provide crunch:
- Fresh Fruits: Grapes, berries, apple slices, or figs.
- Dried Fruits: Apricots, dates, or cranberries.
- Nuts: Almonds, walnuts, or pistachios.
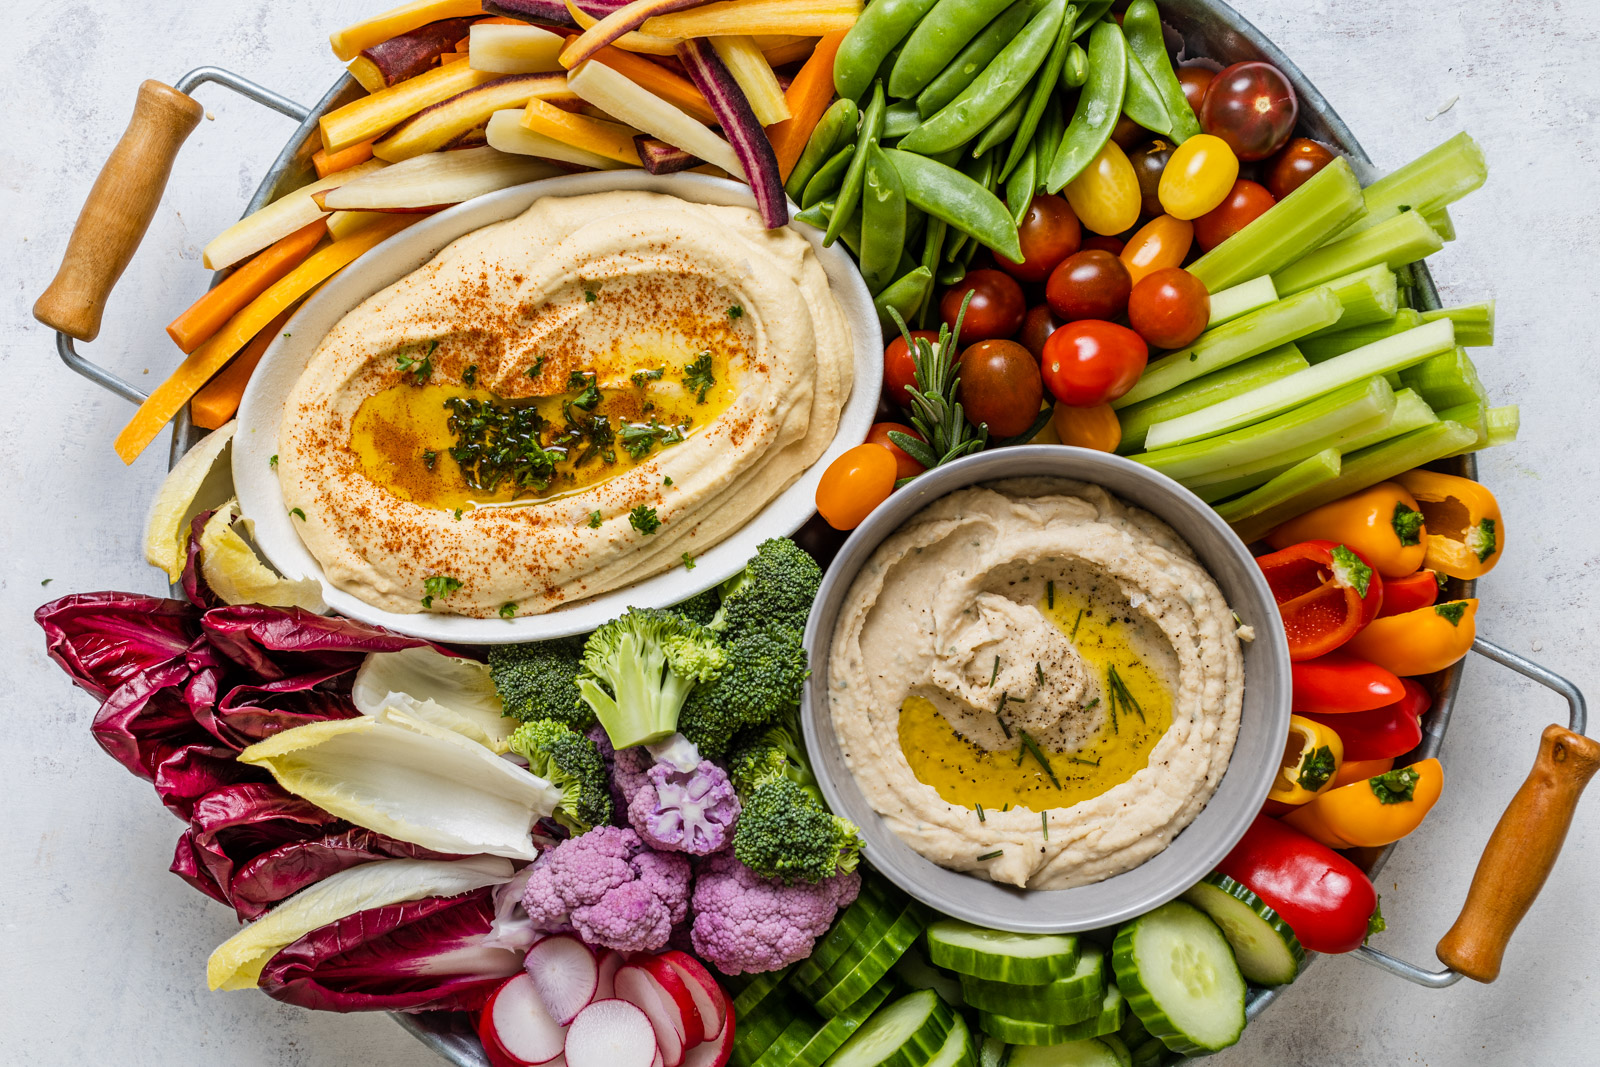
Step 6: Include Spreads and Dips
Add a variety of spreads to complement the meats and cheeses:
- Honey: Pairs beautifully with cheese.
- Mustard: Choose Dijon or whole grain.
- Jam or Chutney: Fig jam or onion chutney are great options.
- Olives: For a briny, savory touch.
Step 7: Garnish and Arrange
Now comes the fun part—arranging your board! Follow these tips for a visually stunning presentation:
- Start with Cheeses: Place them evenly around the board.
- Add Meats: Fold or roll them and place near the cheeses.
- Fill in the Gaps: Use fruits, nuts, and spreads to fill empty spaces.
- Garnish: Add fresh herbs like rosemary or thyme for a pop of color.
Step 8: Add the Finishing Touches
- Small Bowls: Use them for dips, olives, or nuts.
- Cheese Knives: Provide a variety for different cheeses.
- Toothpicks or Small Forks: For easy grabbing.
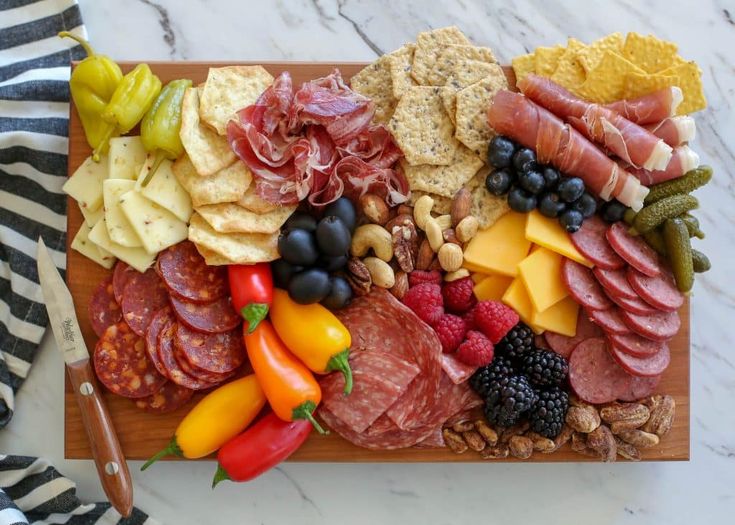
Sample Charcuterie Board Layout
Here’s an example of how to arrange your board:
- Top Left: Brie and goat cheese with honey and fig jam.
- Top Right: Prosciutto and salami rolled into rosettes.
- Bottom Left: Grapes, apple slices, and dried apricots.
- Bottom Right: Crackers, breadsticks, and a bowl of mixed nuts.
- Center: A small bowl of olives and a sprig of rosemary for garnish.
Conclusion: Your Charcuterie Masterpiece Awaits
Building a charcuterie board is all about creativity and balance. With this guide, you’ll have everything you need to create a stunning platter that’s as beautiful as it is delicious. Whether you’re hosting a party or enjoying a cozy night in, a well-crafted charcuterie board is sure to impress.
What’s your favorite charcuterie combination? Let us know in the comments below!